

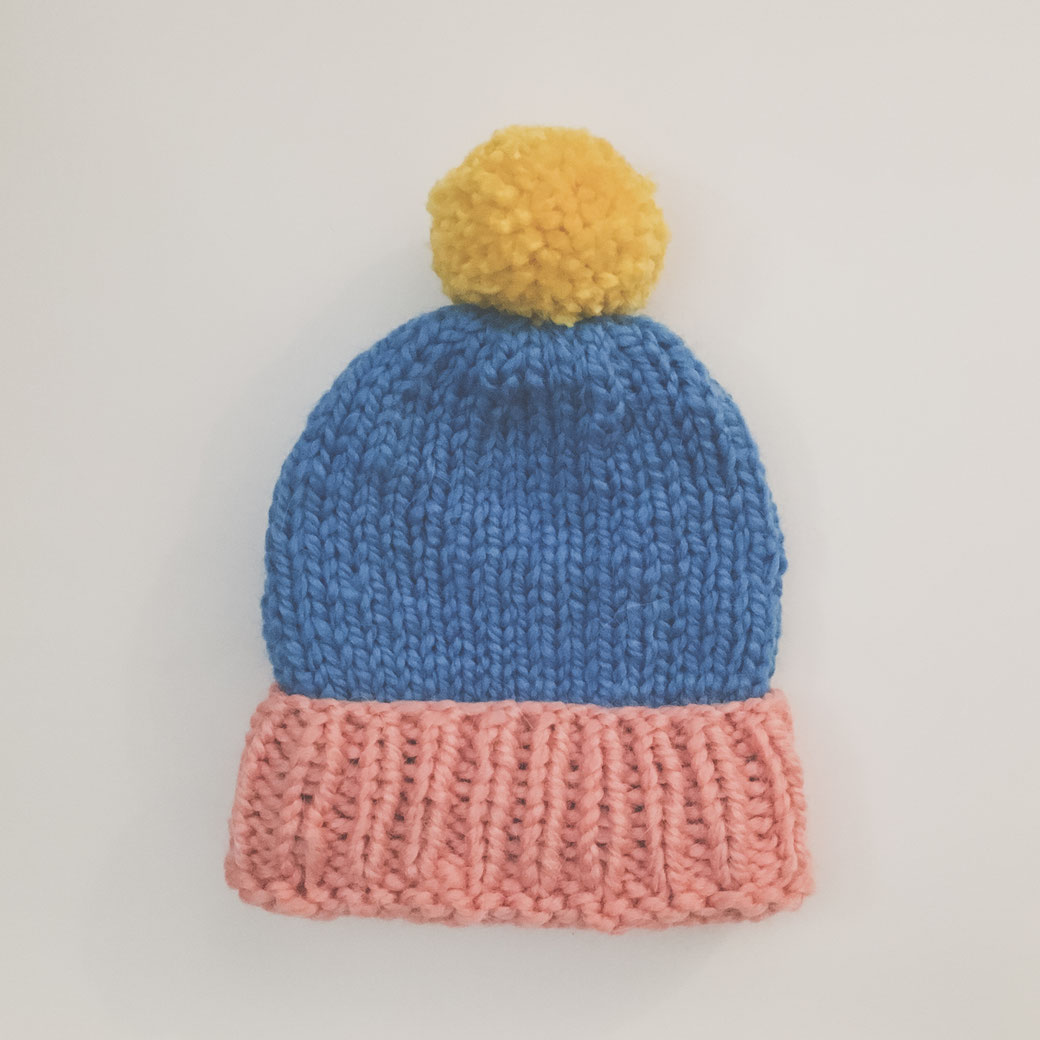
Actually, if I'm not wearing my Rainbow Sweater, I LOOOVE wearing all shades of gray, black, navy, burgundy… yep, you get an idea. Rather simple than bright and colorful. A popular exception: Beanies, scarves and headbands. This "Tricolori" beanie is one of these colorful examples. Blue, salmon and yellow in one single piece of garment. Well, accessory. The color combination reminds me a bit of the colorful 70s, it's a bit quirky, but not too much. Could look nice with ski onesie, though :) And here comes the best: It's a super easy and quick knitting project aaand I've got the free tutorial for you.
All you need
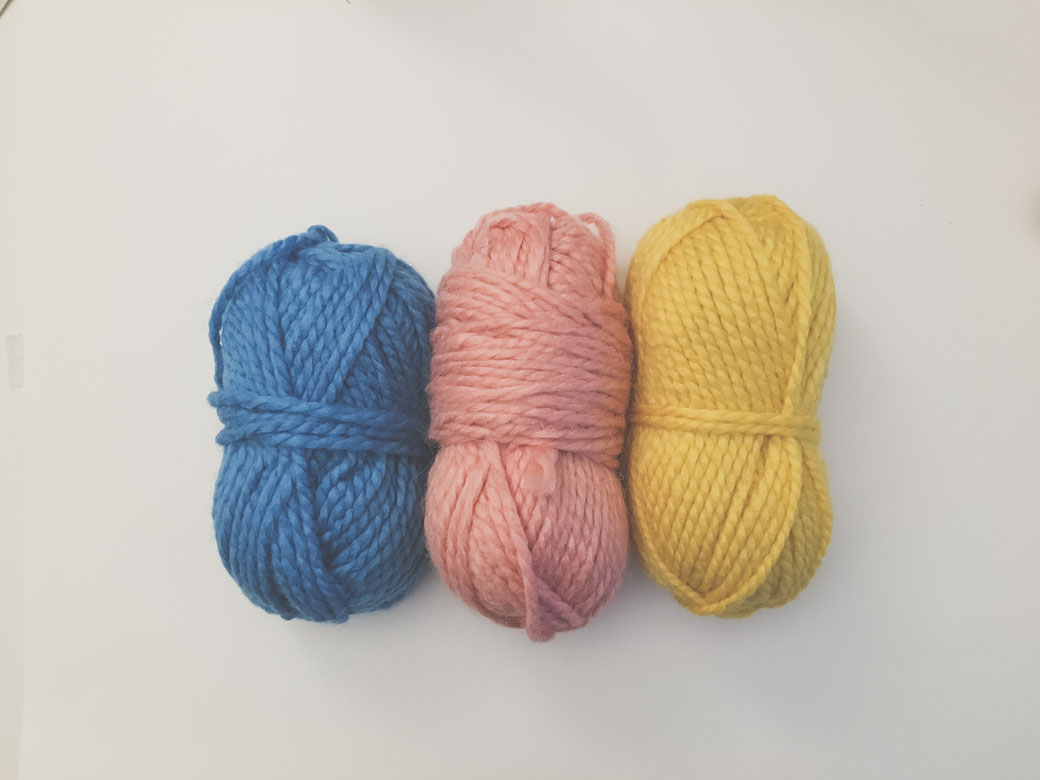
- Three balls of this chunky creative twist yarn in yellow, salmon and azur – or a yarn with similar gauge
- A set of double pointed needles, size 8mm (US size 11)
- One long and relaxed evening of your time – depending on how fast you knit, this beanie takes 4-6 hours
- Optional, but awesome: a pompom maker
These three balls of yarn make three beanies (two in adult size as indicated in this tutorial, and there's still yarn left for a smaller, third beanie one or an adult-sized headband)
Patterns and Abbreviations
Abbreviations:
P = Purl
K = Knit
K2tog = Knit two together
Rib Stitch: K1 P1 throughout the entire round. The next round, you knit the knits and purl the purls
Basic Pattern: Knit all stitches in every round
Gauge Rib Stitch: 12M x 13R = 10 x 10cm // 3.9" x 3.9"
Gauge Basic Pattern: 9M x 13R = 10 x 10cm // 3.9" x 3.9"
Size (One size fits most): 45 cm circumference without stretching
knitting pattern beanie
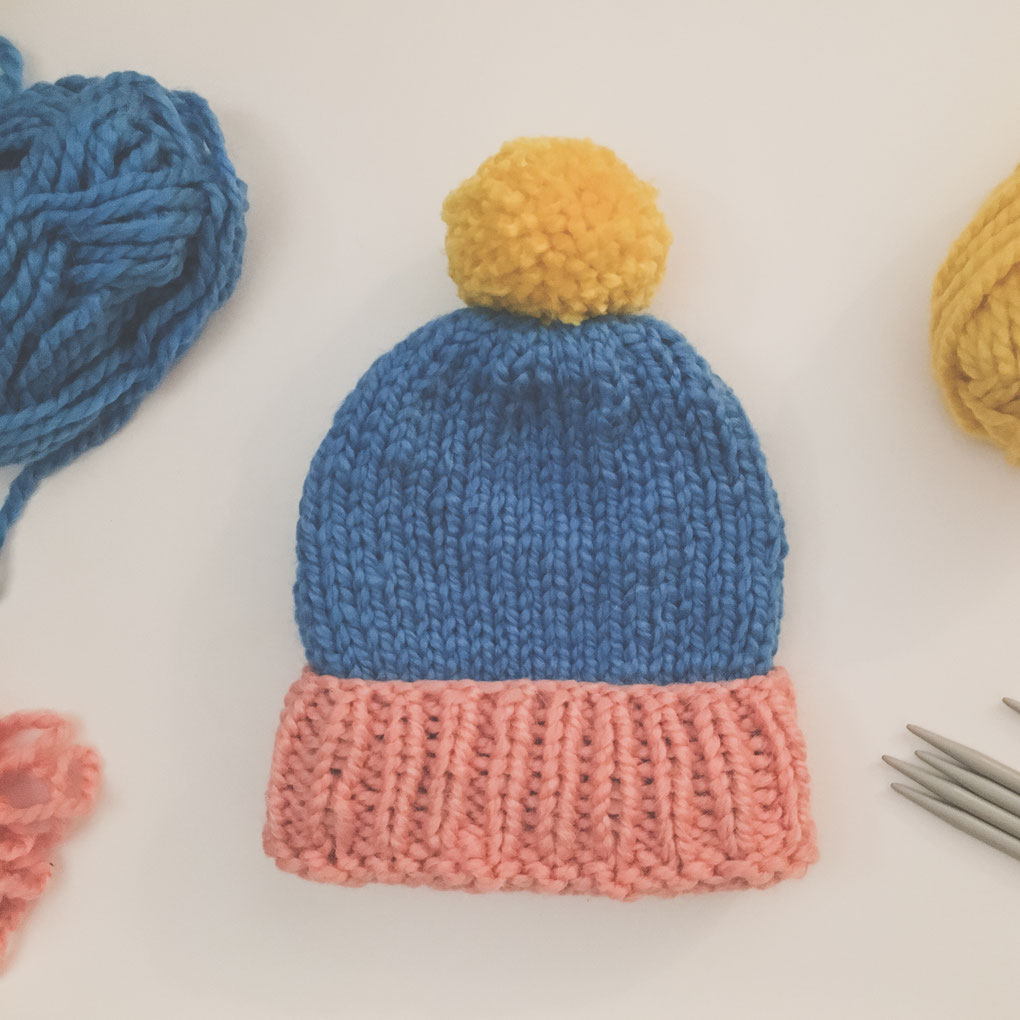
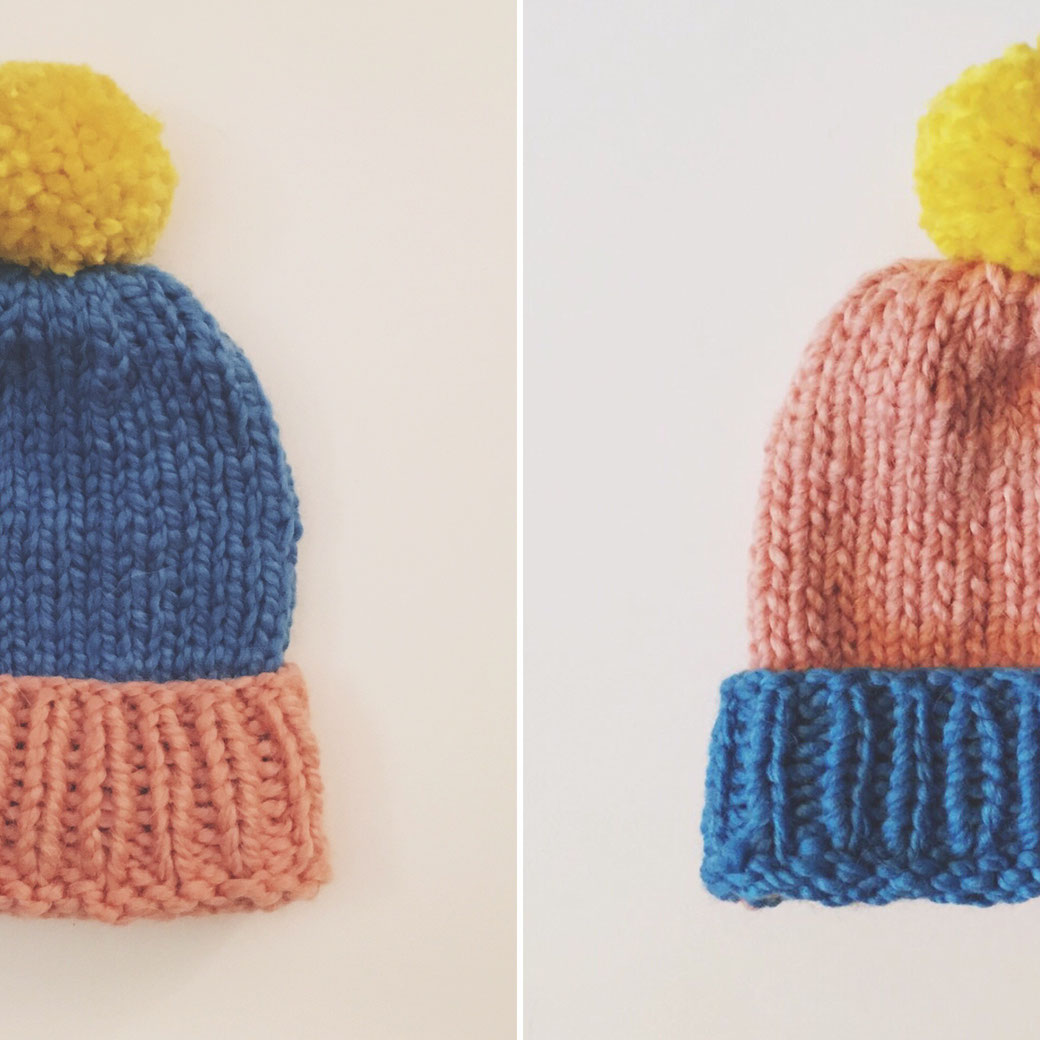
- First things first: Choice of colors! Which color do you want to have for the rib fold, the main part and the pompom of the beanie? I made two beanies, the first starts with salmon, followed by azur blue and topped with a yellow pompom. For the second beanie, I just switched salmon and blue
- With your double pointed needles, cast on 40 stitches (10 per needle) in the color you'd like to use for the fold and join in the round
- Knit in rib stitch for about 7cm // 2.7" – approximately 10 rounds
- Now we switch to knitting in basic pattern – still in the first color for another 3 rounds. If you change the color already here, you'd see the color change later (and I prefer not to)
-
- Knit the first of these three rounds as follows:
- First needle: K4, K2tog, K4
- Repeat with needles 2-4
- At the end of this round, you have 9 stitches left on each needle – 36 stitches overall
- The second and third round: Simply knit all stitches
- Now switch to your second color and continue knitting in basic pattern until your work measures 29cm // 11.4" in length.
- First decrease round on the top of the beanie:
-
- First needle: K2, K2tog, K2, K2tog, K1
- Repeat with needles 2-4
- At the end of the decrease round, you have 7 stitches left on each needle
- Continue in basic pattern for two rounds
- Second decrease round:
-
- First needle: K1, K2tog, K1, K2tog, K1
- Repeat on needles 2-4
- At the end of the 2nd decrease round, you have 5 stitches left on each needle
- Knit one round in basic pattern
- Third decrease round:
-
- First needle: K2tog, K1, K2tog
- Repeat for needles 2-4
- Cut the yarn, leaving an app. 25cm // 10" tail and, using a darning needle, carefully pull the thread through the remaining stitches on the needles
- Then remove the needles and pull tight so that the hole at the top of the beanie disappears
- Pull the thread inside and sew it up

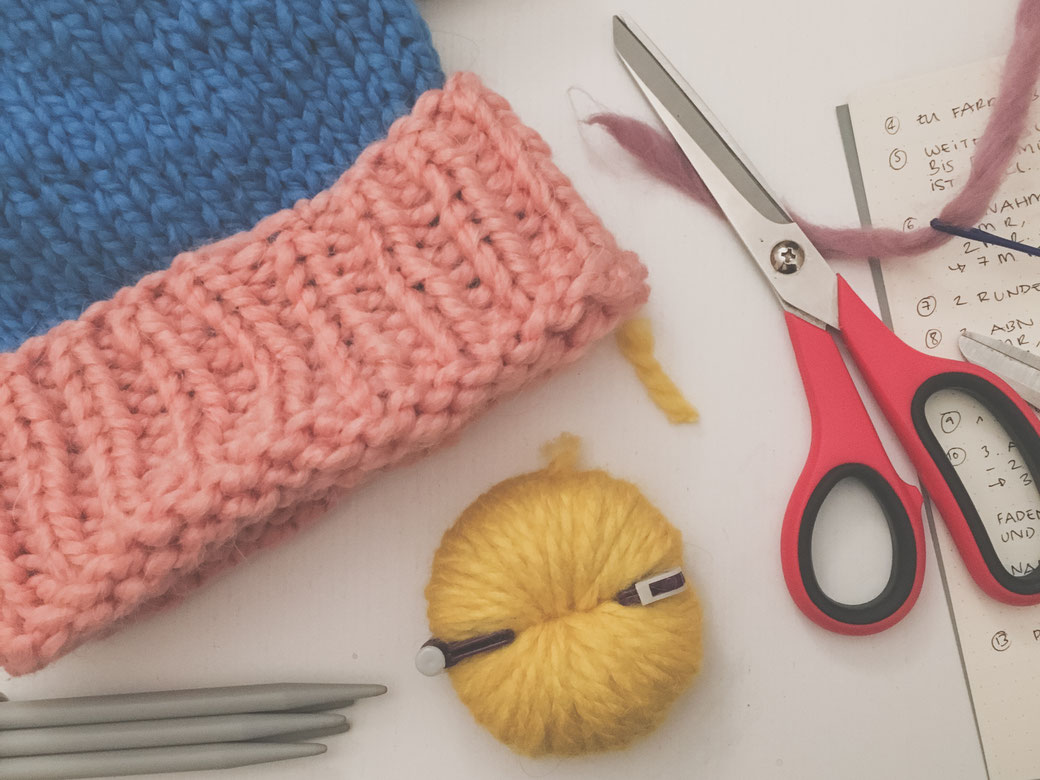
Pompom and finish!
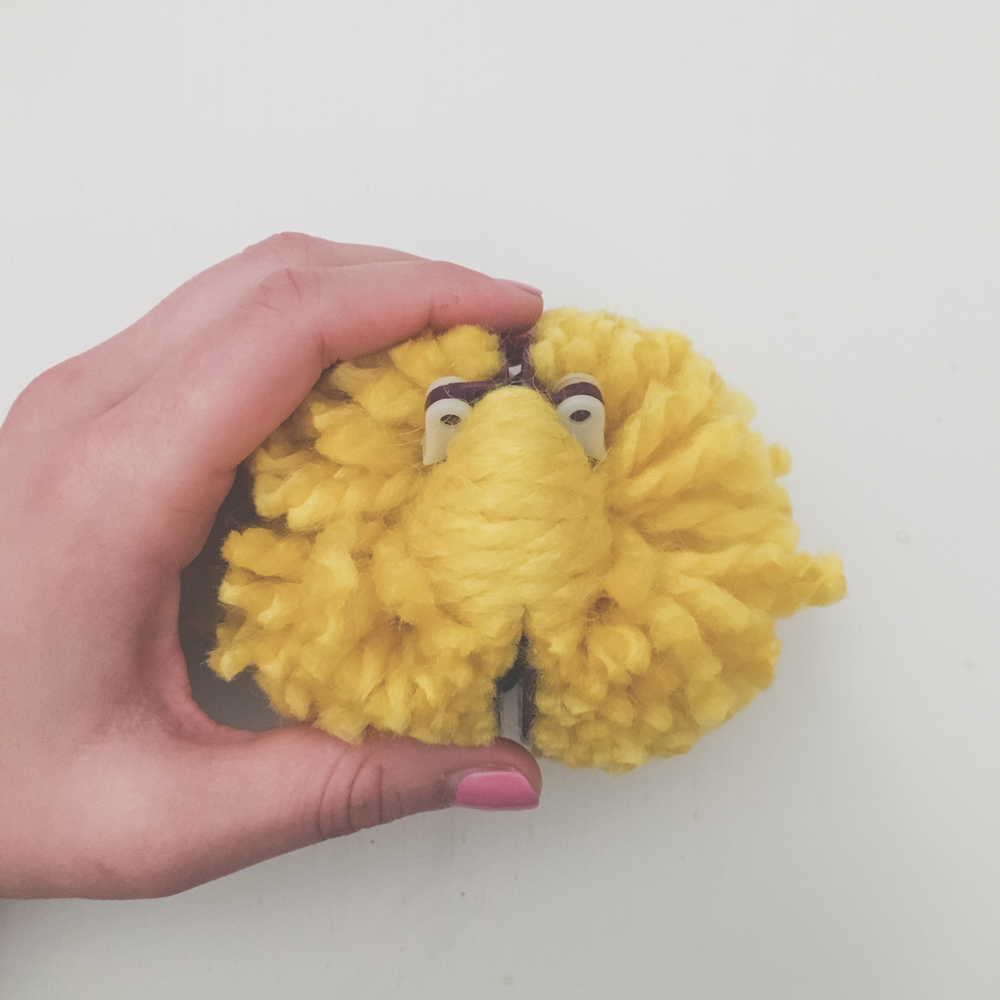
- Make a pompom. If you've never made one and don't have a pompom maker, no worries – here's a nice tutorial!
- Leave app. a 20cm thread tail and sew the pompom to the top of the beanie.
- Ta-daaaa! Here's your brand new tricolori beanie!
I'm already thinking about new color combinations and looking forward to making more of these bright and cute beanies! Or maybe also a white-grey-black version? Hmmmm… Which would be your favorite color choice?
Hope you guys have fun making your own version! :)


Kommentar schreiben